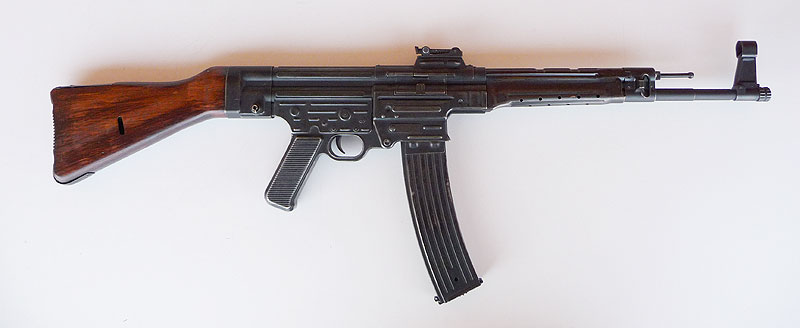
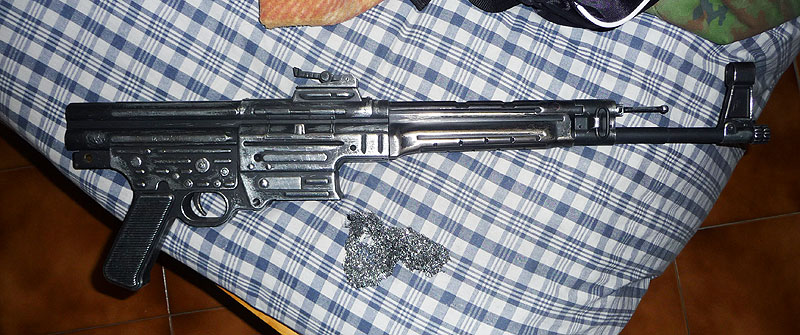
Photo of the STG44 just out of the box:
Trattamento di invecchiamento e realismo sull' STG44 della AGM
Treatment for aging and realism on AGM's STG44
Foto dell'STG44 appena uscito dalla scatola:
Photo of the STG44 just out of the box:
Il metallo ha una verniciatura nera opaca uniforme e il legno tutto liscio senza imperfezioni ha una verniciatura chiara e tendente all'arancione. Il tutto ha un look complessivo molto "giocattoloso" e finto.
The metal has a uniform matte black paint and the wood very smooth flawless paint a clear and tending to orange. Everything has an overall look very "toy" and fake.
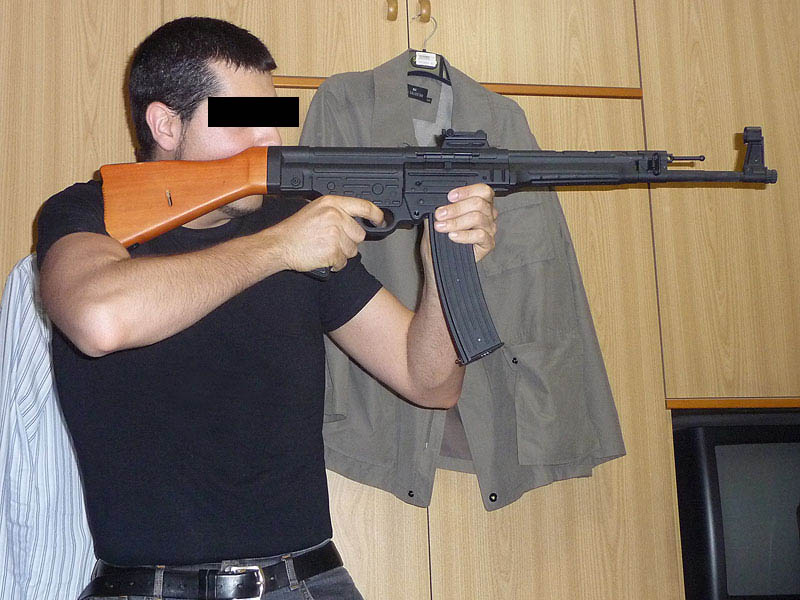
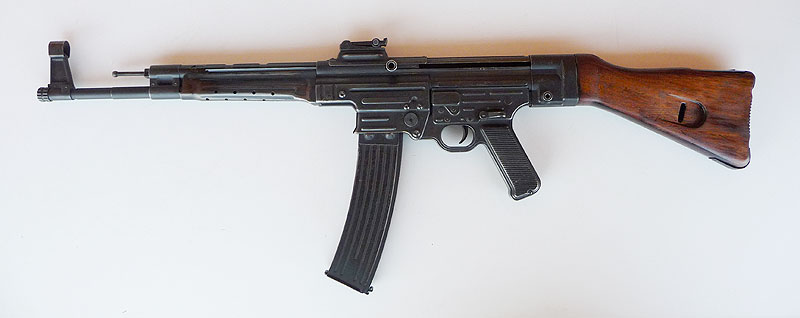
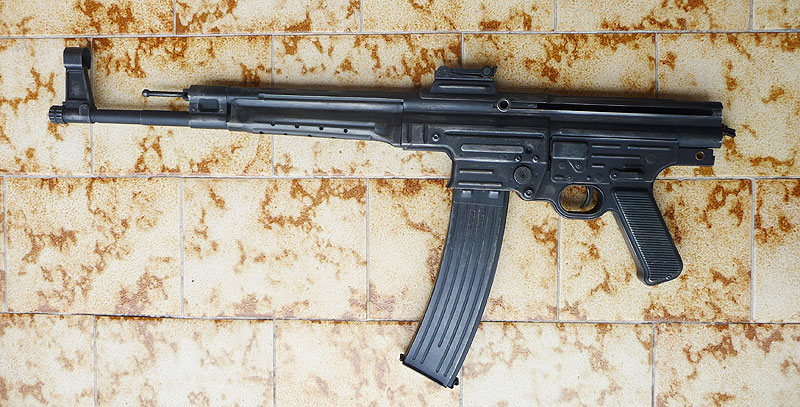
Con un trattamento semplice ed economico è possibile dare all'STG44 della AGM un look realistico, qui sotto il risultato finale:
With a simple and inexpensive treatment you can give a realistic look to the STG44 of AGM, the final result below:
SPIEGAZIONE TRATTAMENTO
EXPLANATION TREATMENT
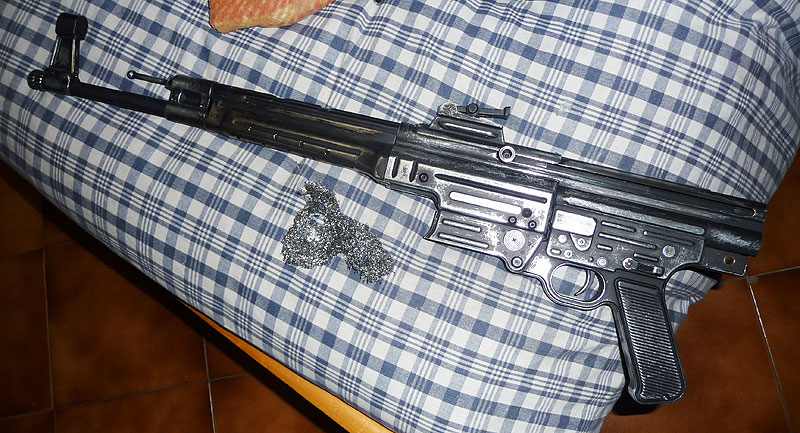
Smontate il calcio in modo da iniziare il nostro "trattamento" sul corpo in metallo dell'STG44, prendete una pagliettina metallica (quelle da cucina) e strofinate tutte le parti in metallo. Il risultato sarà che il metallo perderà la sua verniciatura nera uniforme e le bordature e dettagli più esposti saranno a metallo vivo:
Unmount the stock in order to start our "treatment" on the metal body of the STG44, take a metal sponge (the one that you can use in the kitchen) and wipe all the metal parts. The result is that the metal will lose its black paint and uniform seams and details will be more exposed to metal alive:
Ora si passa alla brunitura di tutte le parti in metallo, per cui procuratevi presso un'armeria il liquido brunitore.
Con batuffoli di cotone imbevuto di brunitore tamponate più volte le parti in metallo:
Now we pass to burnishing of all metal parts, so Get at armory liquid burnisher.
With cotton balls soaked in buffered burnisher repeatedly metal parts:
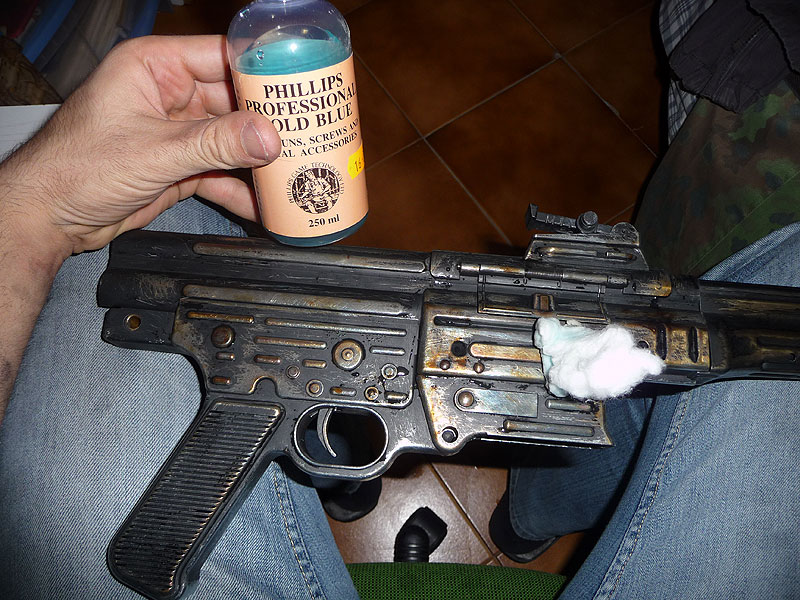
Non spaventatevi se il metallo prende strane colorazioni iniziali rossastre/bluastre... è normale.
Il procedimento è tamponare > lasciar asciugare > tamponare > lasciare asciugare > tamponare > lasciar asciugare... fino a quando ottenete la gradazione di brunitura che desiderate. Noterete anche che quella colorazione rossastra/bluastra si perde e si tramuta nel classico colore del metallo brunito (grigio scuro/nero opaco):
Do not be alarmed if the metal gets strange colors initial reddish / bluish ... normal.
The process is dab > let dry > dab > let dry > dab > allow to dry ... until you get the shade of browning you want.
You'll also notice that the reddish / bluish gets lost and turns in the classic color of burnished metal (dark gray / black opaque):
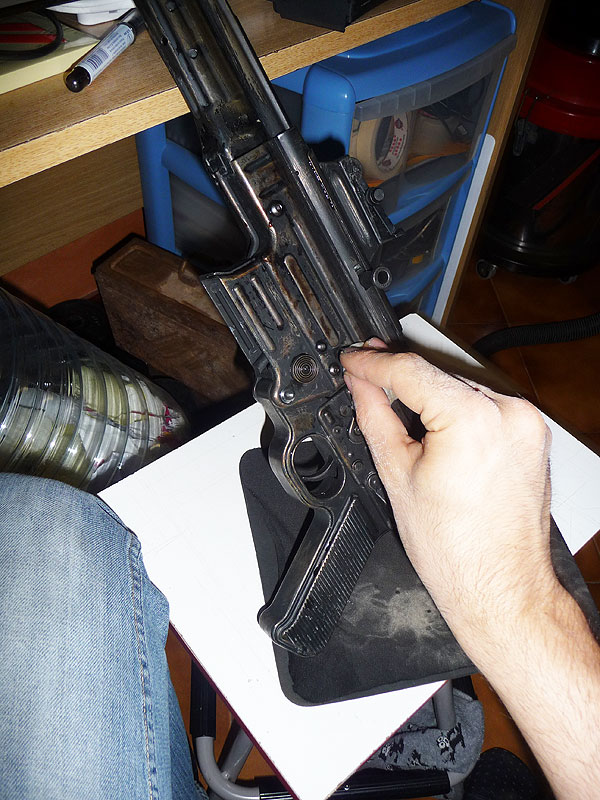
Se volete potete colorare di bianco i numeri alla tacca di mira posteriore!
Prendete un bianchetto, colorate di bianco i numeri e righe senza preoccuparvi se sporcate fuori di essi. Lasciate asciugare un poco, prendete un pezzo di stoffa inumidito di acqua ragia e strofinate la tacca di mira 2 o 3 volte.
Il risultato sarà il seguente:
If you want, you can color with white the numbers on the rear sight back!
Take a whitebait, paint the numbers and lines without worrying about whether dirt out of them. Let dry a little, take a piece of cloth dampened with turpentine and rub the rear sight 2 or 3 times.
The result will be like this:

Ora invece ci dedichiamo al calcio in legno!
Ricordatevi di rimuovere le 3 parti in metallo presenti sul calcio (fissate con 2 viti ogni parte).
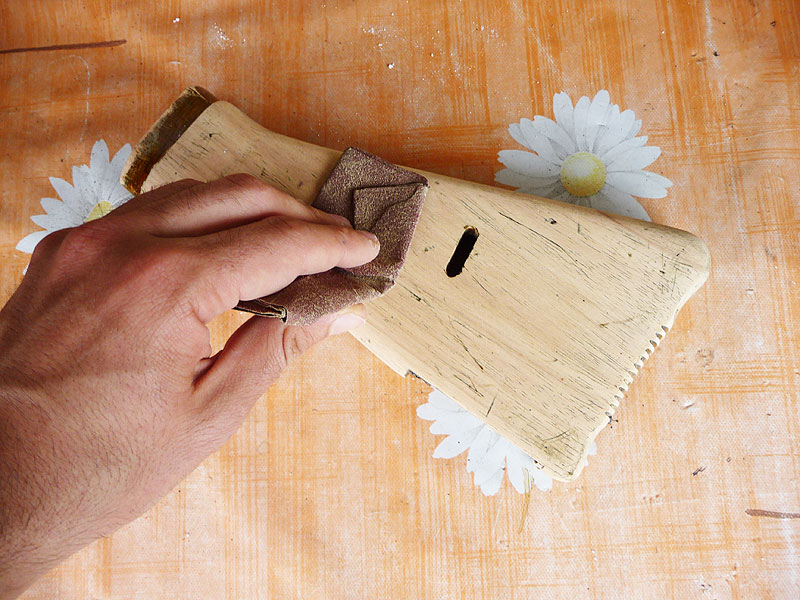
Prendete una carta vetro (io ho utilizzato una P80) e strofinate bene il calcio in modo da portarlo del tutto a legno vivo rimuovendo così quella sua ambigua verniciatura arancione.
But now we are dedicated to wood stock!
Remember to remove the 3 parts of metal on the stock (attached with 2 screws each side).
Take a sandpaper (I used a P80) and rub good football in order to bring it fully to living wood so that its ambiguous removing paint orange.
CONSIGLIO: Vista la "perfezione" del calcio, quindi un pò irreale, vi consiglio di strofinare il calcio su pietre e muri in modo da provocare imperfezioni e graffiature che daranno poi lui un senso di calcio originale e di fronte vissuto!
TIP: With the "perfection" of stock, so a little unreal, I recommend rubbing the stock on stones and walls that results in blemishes and scratches that will then kick him a sense of the original and opposite lived!
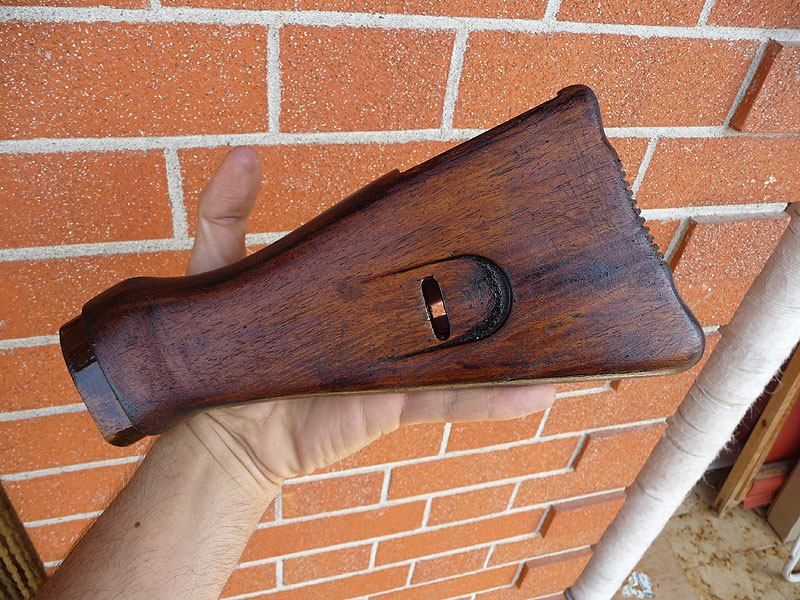
Quando avete "usurato" il calcio e portato a legno vivo è ora di dar lui la colorazione giusta tramite l'impregnante (ho utilizzato una colorazione castagno - marrone scuro):
When you have "ruined" the stock and led to living wood is time to give him the right color using the primer (I used a chestnut color - dark brown):
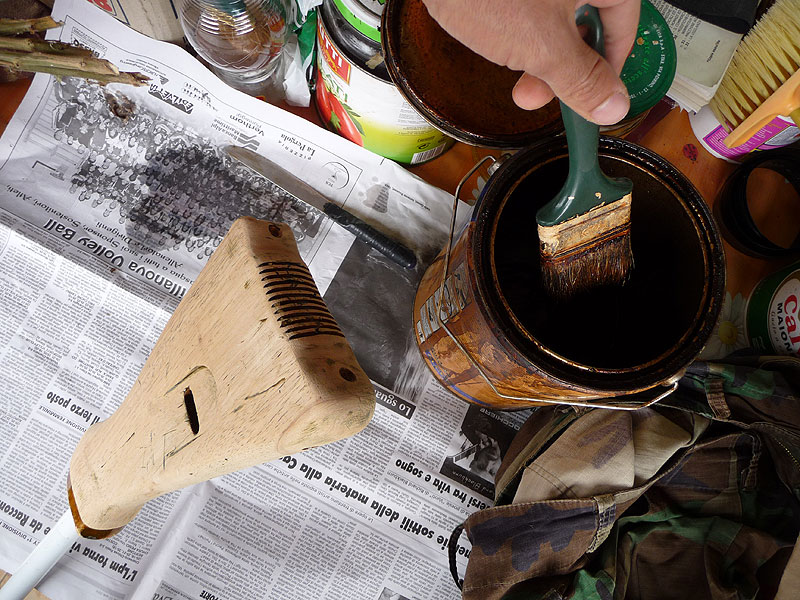
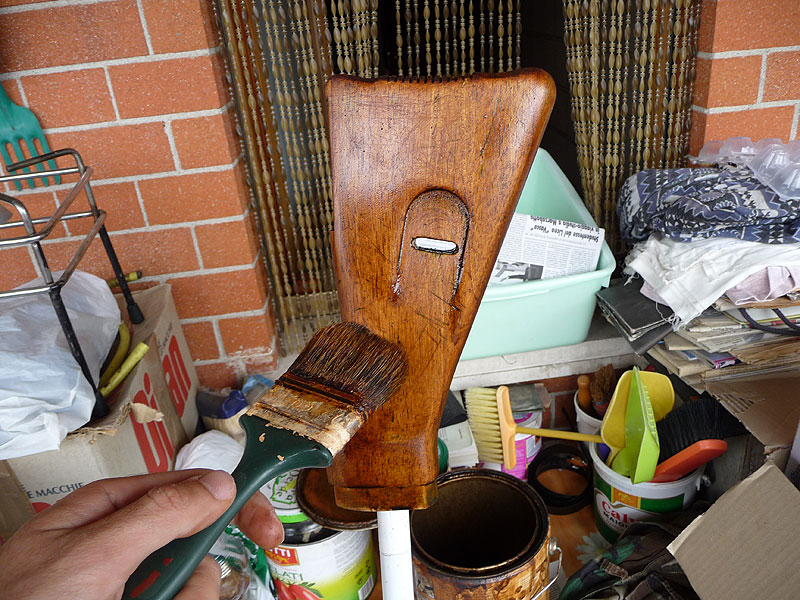
Date 2 o 3 mani, lasciando asciugare e assorbire l'impregnante ogni volta.
Brush 2 or 3 times, leaving it dry and absorb the impregnating every time.
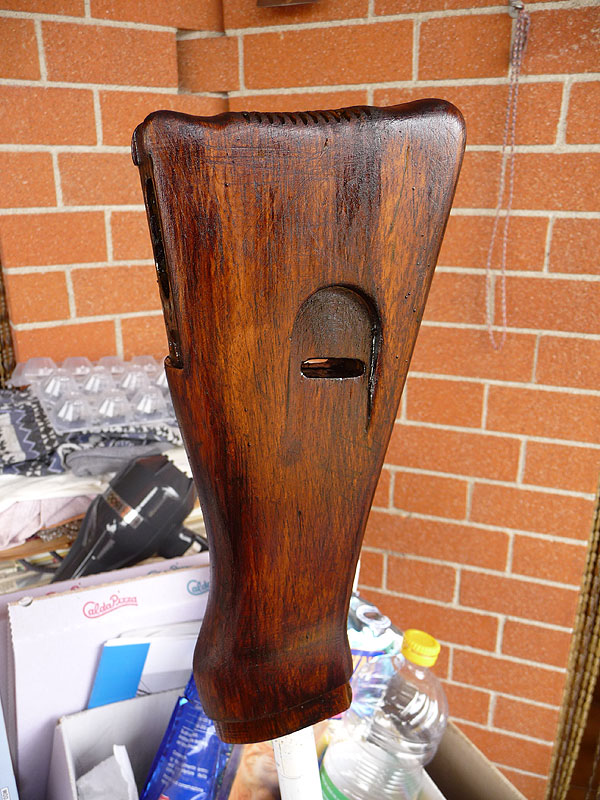
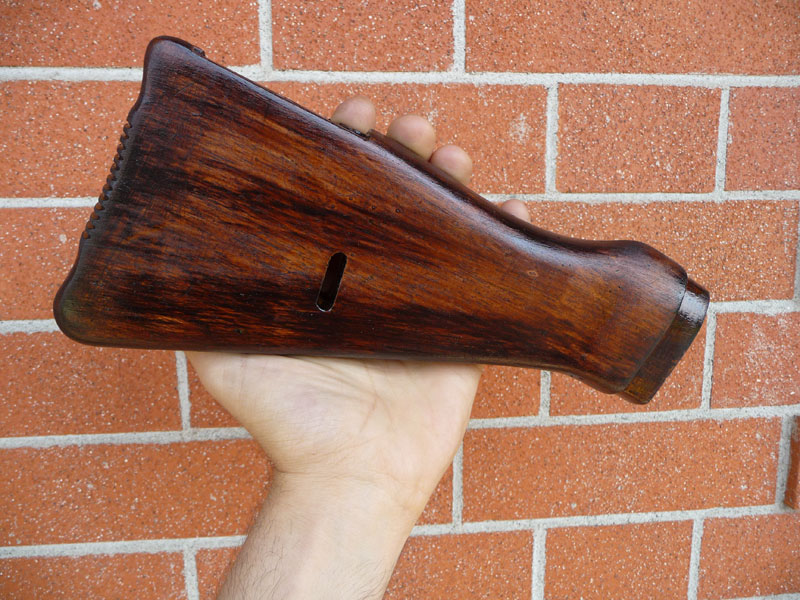
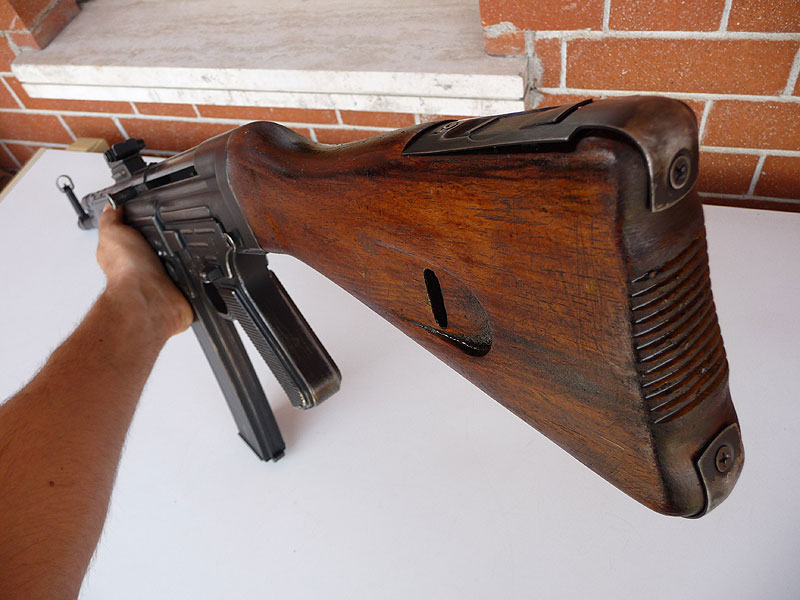
Qui sotto il risultato finale sul calcio:
Below the final result on stock:
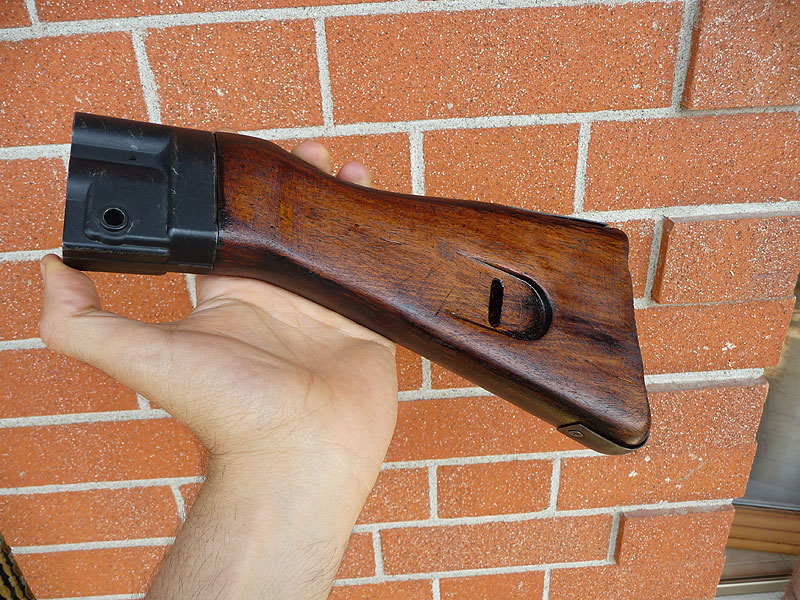
Rimontate ora le 3 parti in metallo al calcio:
Replace the 3 metal parts on stock:
RIASSEMBLATE IL TUTTO!
Reassemble EVERYTHING!
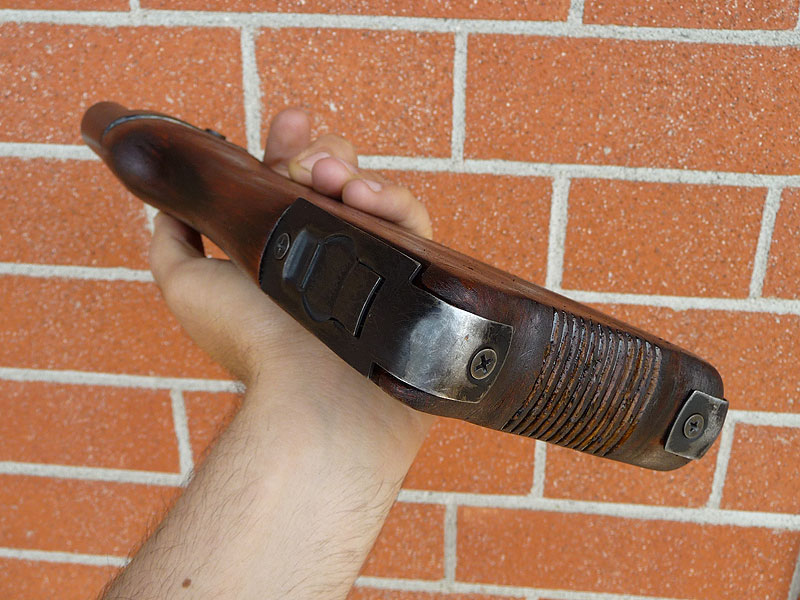
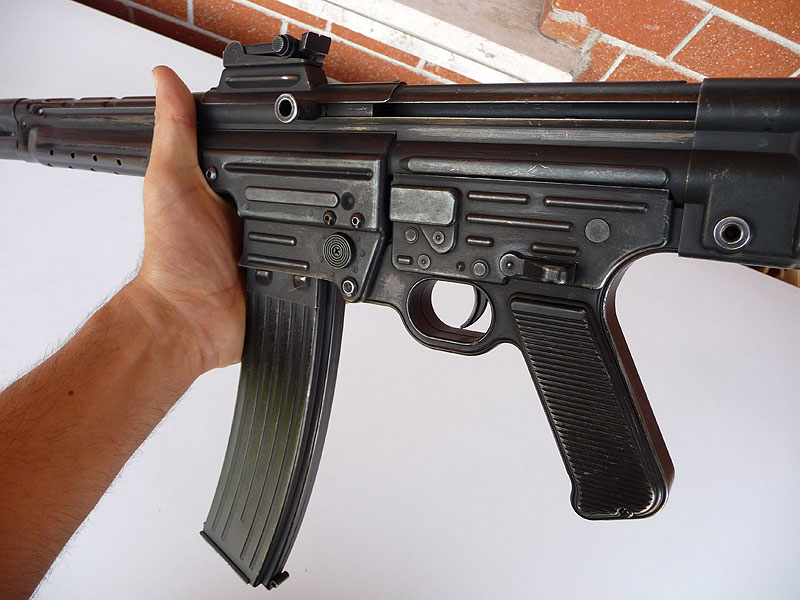
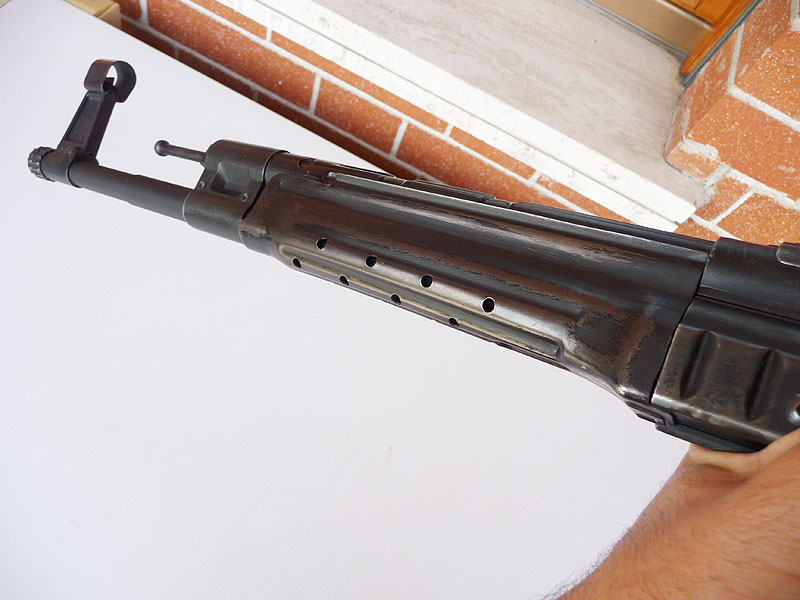
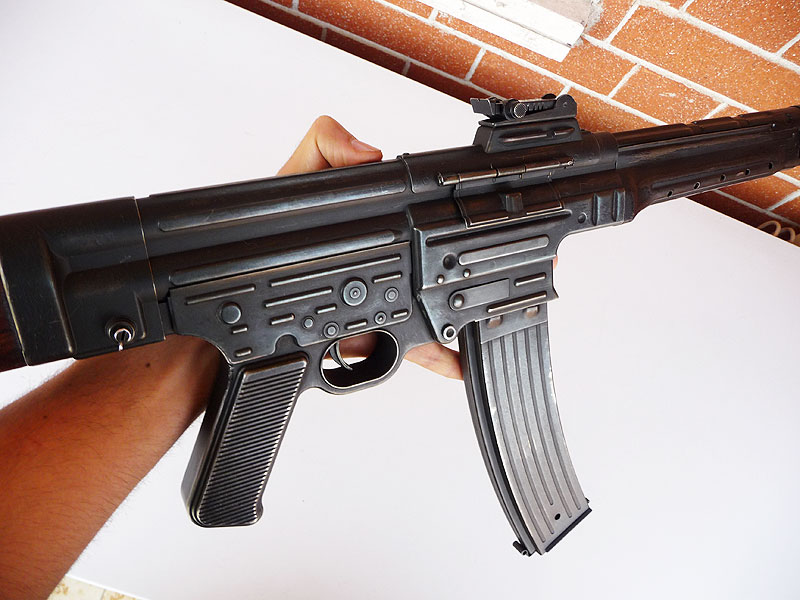
Qui sotto qualche foto dei dettagli dell'STG44 della AGM "trattato":
Below some pictures of the details of the AGM's STG44 "treatment"
Spero questo mio tutorial possa esserti utile, per cortesia se ti piace questa pagina-guida clicca sul bottone "+1" che vedi qui sotto. Grazie!
I hope this my tutorial can be usefull for you, please if you like this guide-page click on button "+1" that you see below. Thanks!